
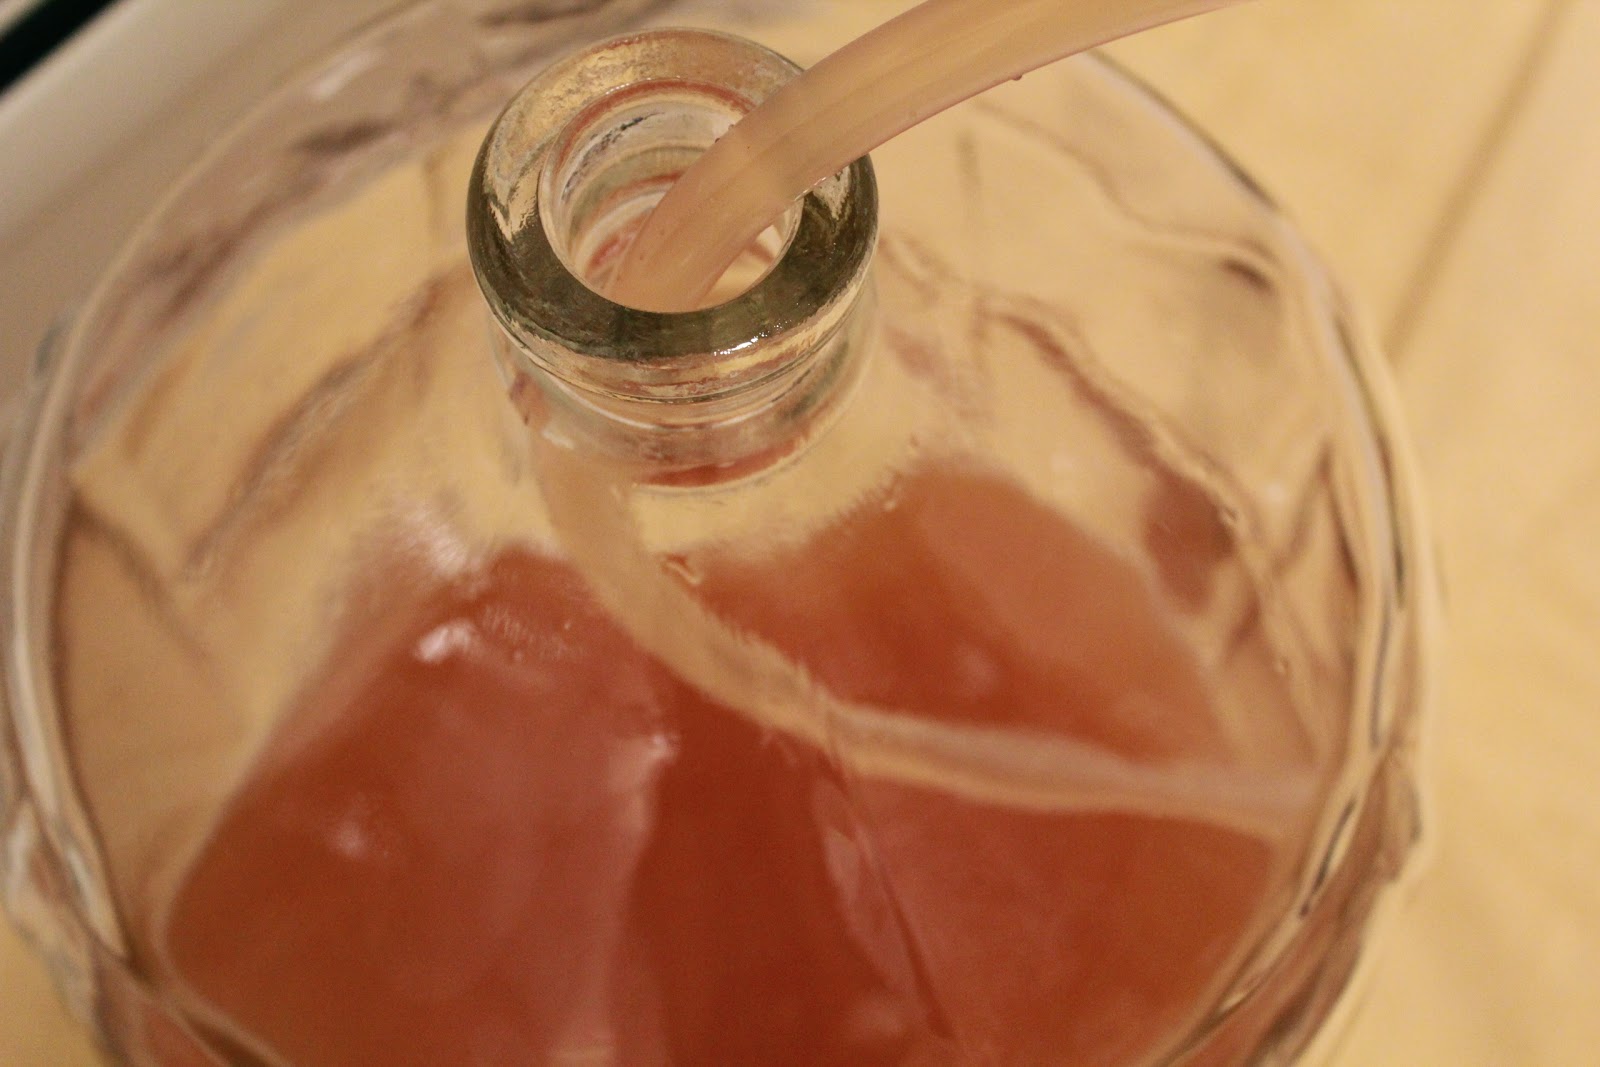
 |
| Racking the cider from bucket to carboy |
"Um, WHAT?" you may be asking. Let me explain.
The lack of bubbling indicates that the fermentation process -- which we helped along in Step 1 by adding yeast and sugar -- has stopped. The cider has stopped being a "soft" sweet cider and is on its way to becoming hard cider. If you were to taste it at this point (I usually do), it's incredibly tart but also a bit boozy. Success!
Now the cider is ready to sit and clarify, so it will end up looking more like a clear hard cider than a cloudy soft apple cider. To start this process, the cider should be siphoned (racked) out of the existing bucket into a new, sanitized container, where it will sit for the next several weeks.
 |
| This is what it looks like when the cover comes off, after fermentation |
Why the new container?
During the fermentation process, all sorts of yeasty, gloppy sediment ends up at the bottom of container. Clearly you don't want your lovely cider spending the next month co-mingling with this glop, so you must rack it (siphon it out) into a new, clean container and leave the glop behind.
 |
| Bottom-o'-the-bucket glop (I ran my finger through it to show the depth) |
We rack our cider into five-gallon glass carboys (big glass jugs with skinny necks). You could use another food-grade bucket, but the carboys make it easier to see when the cider reaches its optimal clarity. (It's a pretty rewarding process because you can actually see all the yeast sediment and other particles falling down in the cider and settling to the bottom.)
 |
| One down, one to go! |
Word to the wise here: buy an auto siphon. Yeah, yeah, yeah, you can siphon using the sucking method, but you run the risk of introducing bacteria into the mix which could wreck your cider. Bad. Or you can use the water-and-gravity siphoning method, which is what we did last year. We ended up arguing and getting water all over the floor. Very bad.
(Which is also why this year we did the racking in the bathroom!)
So one of the first improvements to our process I made this year was to buy an auto siphon. You simply attach food-grade plastic tubing to the siphon and put the other end in the container, give one or two pulls on the auto siphon and then sit back and watch it fill. Easy peasy lemon squeezy, my friends. No arguing involved -- unless it is over who gets to work the auto siphon.
 |
| Siphoning (yes, in the bathroom) |
Speaking of which, one of the keys to good racking is to keep the the bottom of the siphon a few inches above the glop level at all times. This means that racking is easiest with two people. Thanks, Mr. Ninj.
 |
| Be sure to keep the auto siphon out of the glop (yep, still in the bathroom!) |
Once you've filled your carboy, leaving a little headspace, insert a rubber stopper (bung) fitted with an airlock (just re-sanitize the one you used in the bucket) and place the carboy back in a warmish (60 - 75 degrees F) place to sit and clarify.
 |
| At least we've moved from bathroom to basement... |
Again, prepare for more waiting, as the clarification usually takes about four more weeks.
But once the cider is clear and golden, it will time for bottling, so stay tuned for Step 3!
PS: As I mentioned in Step 1, if you're playing along at home, you can find a lot more detail about the specific methods discussed and the recipe via the Mother Earth News.
------------------------------------
Read the whole series:
- Making hard cider, part 1
- Making hard cider: part 2
- Making hard cider: part 3
It's gorgeous!! My one gallon mead-cider experiment bit the dust with some mold growth - guess I wasn't careful enough. Ah well, that's how I learn, I suppose!
ReplyDeleteSorry to hear that, Amber -- is there still time (and supplies) to try it again?
ReplyDeleteWe're nearing day 20 of primary fermentation and its still vigorously bubbling away. I wonder what's taking so long? Am hoping to get it into the 2 demijohn this weekend but we'll see what it's doing then.
ReplyDeleteDon't panic, Laura -- ours took 3 weeks last year. So much depends on the amount of natural sugar and yeast already in your juice, what kind of yeast you added and the temp you're storing it at. Just try not to rush it -- you definitely want it to be almost not bubbling at all before you rack. Keep me posted!
ReplyDeleteI'd better be getting some of this, that's all I've got to say!
ReplyDeleteIf you come to my house around mid-January, you can. After that, all bets are off because it goes quickly, given how GOOOOOOOOOD it is. :-)
ReplyDeleteI just found your site. Coincidentally, I just made a hard cider. A lot of the apples were neighborhood apples, so we'll see how it turns out.
ReplyDeleteThanks for the tip about the auto siphoning. I just put my cider in the closet two days ago, and had been wondering how I was going to siphon it off. Good tip.
Glad I could help, Mil! That auto siphon made a huge difference this year. We should be bottling soon, so stay tuned for Part 3.
ReplyDelete